Log a business expense from the Expenses section. You can edit or delete expenses at any time.
- 1
Go to Expenses
Click Expenses in the left sidebar. You will see a list of all your logged expenses.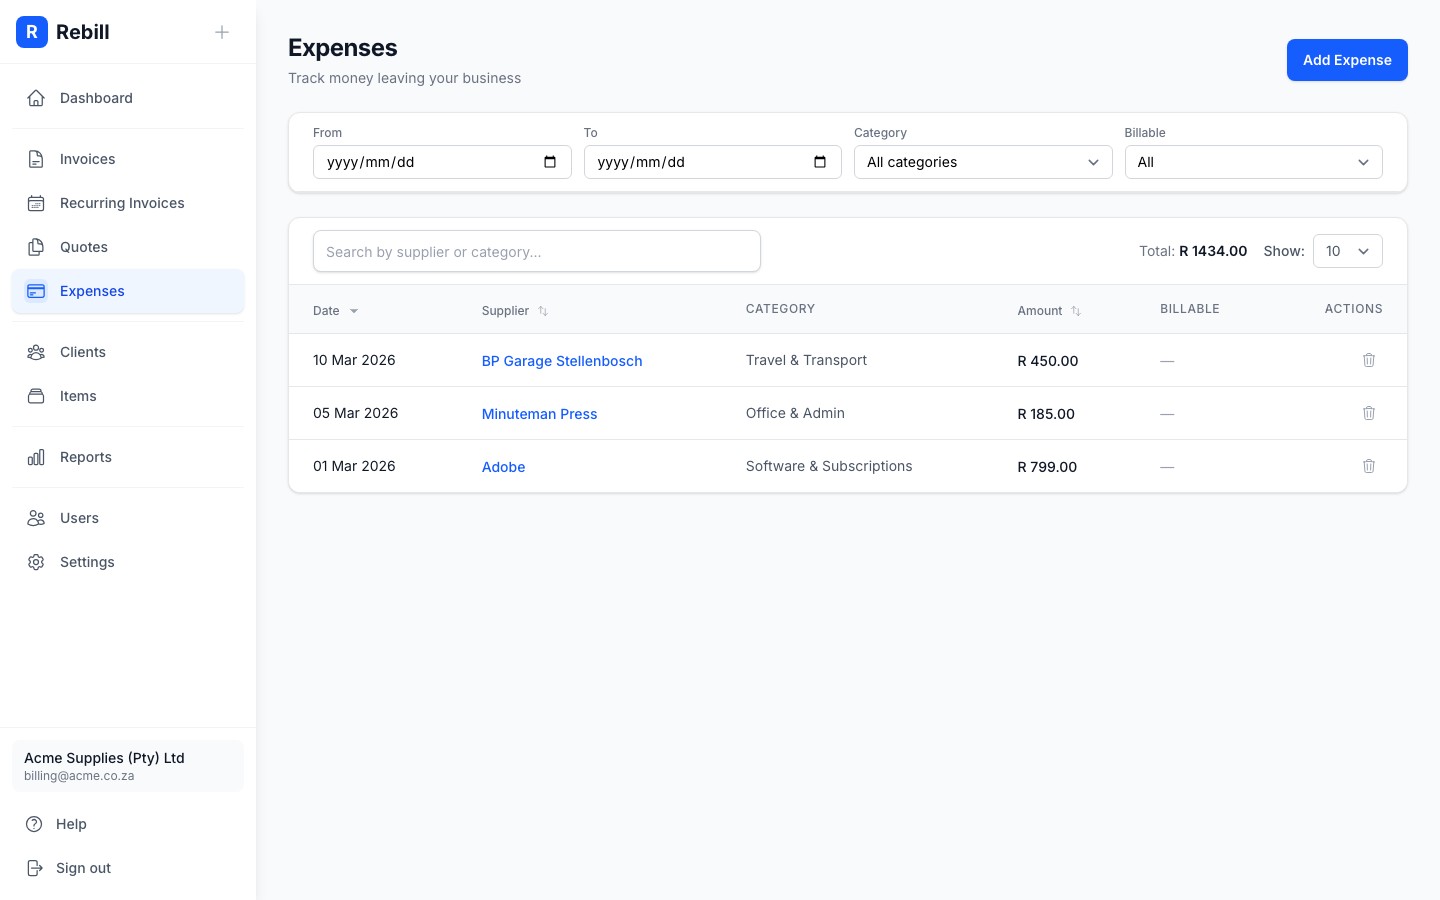
- 2
Click "Add expense"
Click the "Add expense" button at the top right of the page.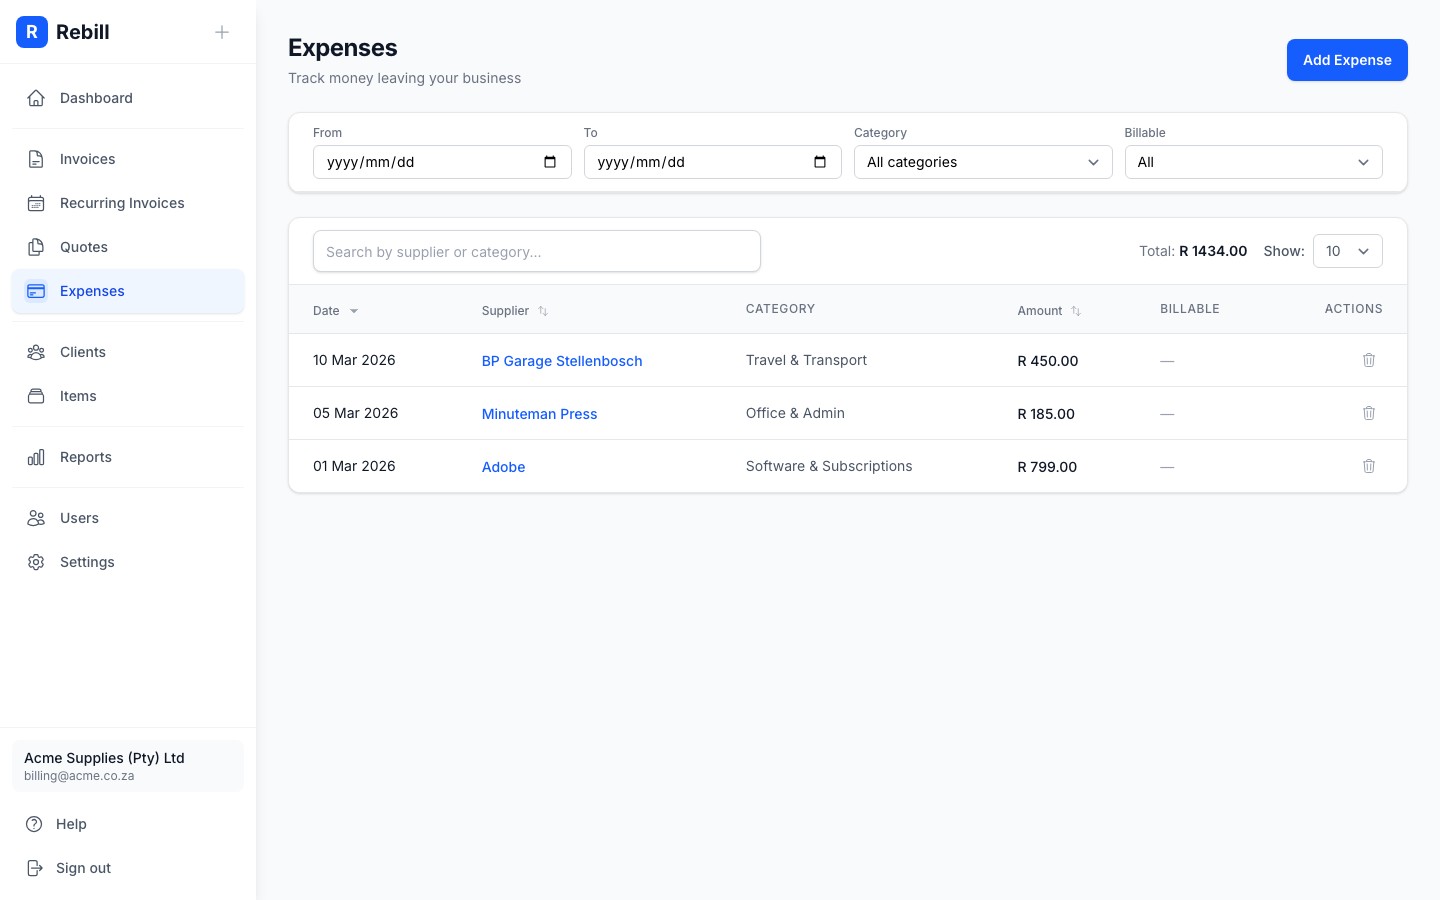
- 3
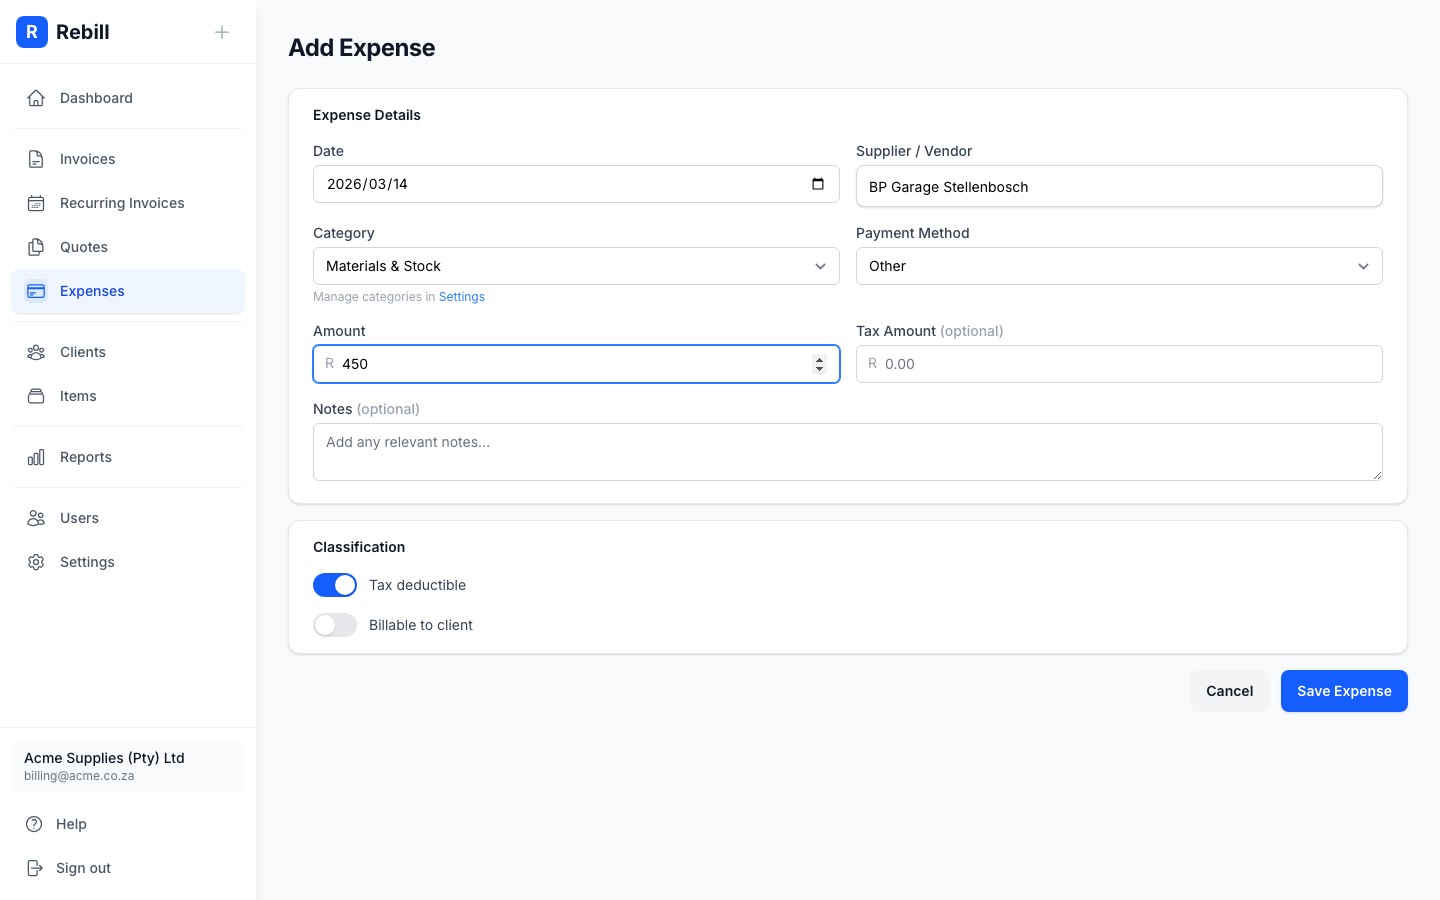
Fill in the expense details
Fill in the required fields:- Date:the date the expense was incurred
- Supplier / Vendor:who you paid
- Category:choose from your categories
- Payment Method:Cash, Card, Bank Transfer, or Other
- Amount:the total amount paid
- 4
Set classification
Two toggles let you classify the expense:- Tax deductible:on by default. Turn off if the expense is not deductible.
- Billable to client:turn on if you plan to pass this cost on to a client. When enabled, you can also select which client it belongs to.
- 5
Save the expense
Click "Add expense". The expense is saved and will appear in your expense list.
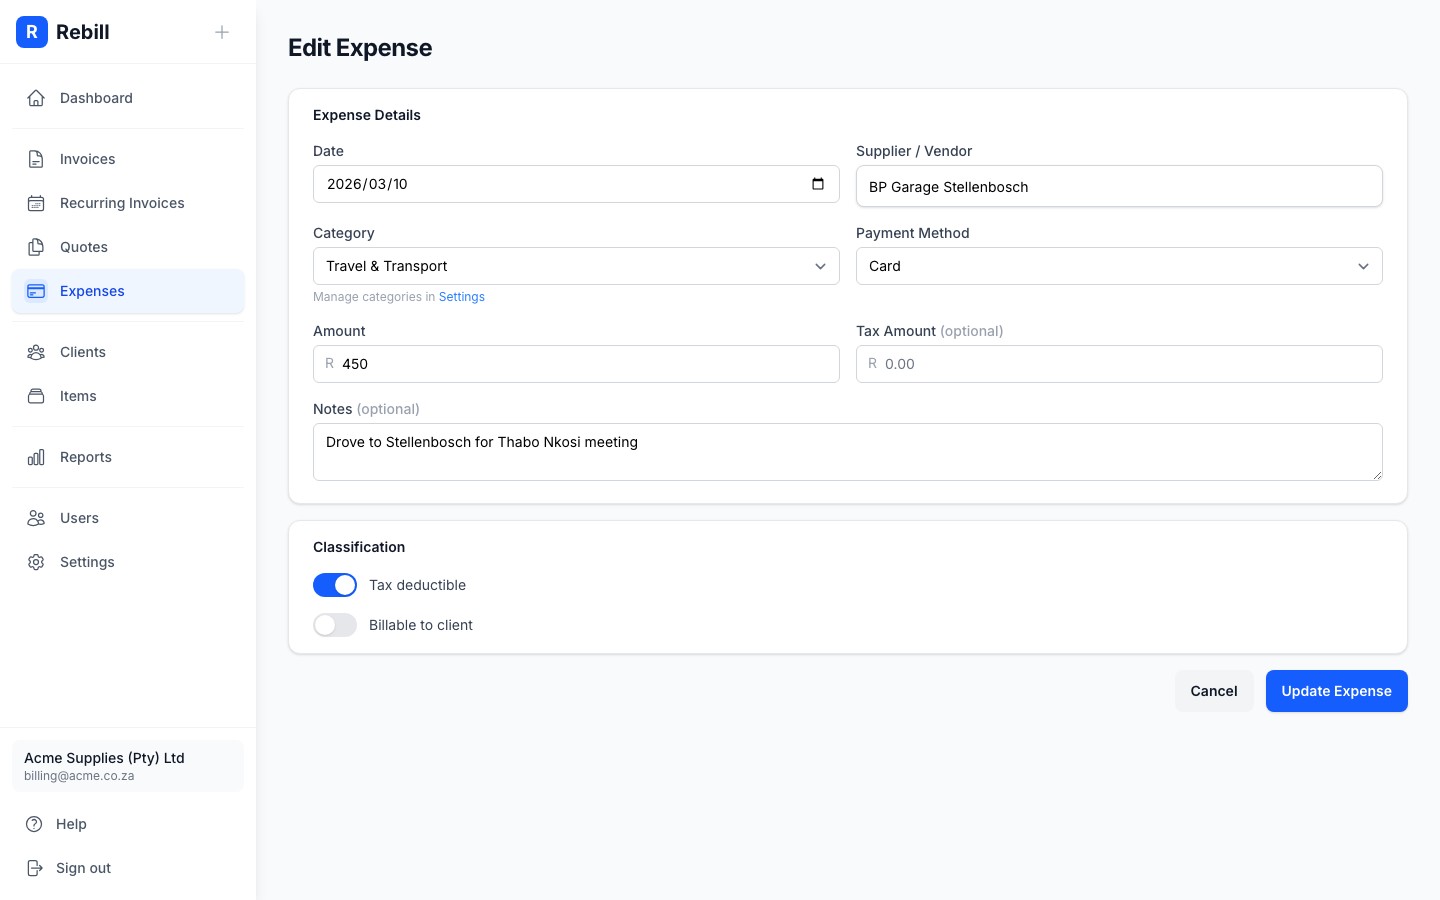
Editing an expense
Click the supplier name in the expense list to open the expense, then click "Edit expense" to open its edit page and change any of its details. To delete an expense, click the trash icon on the right side of the row.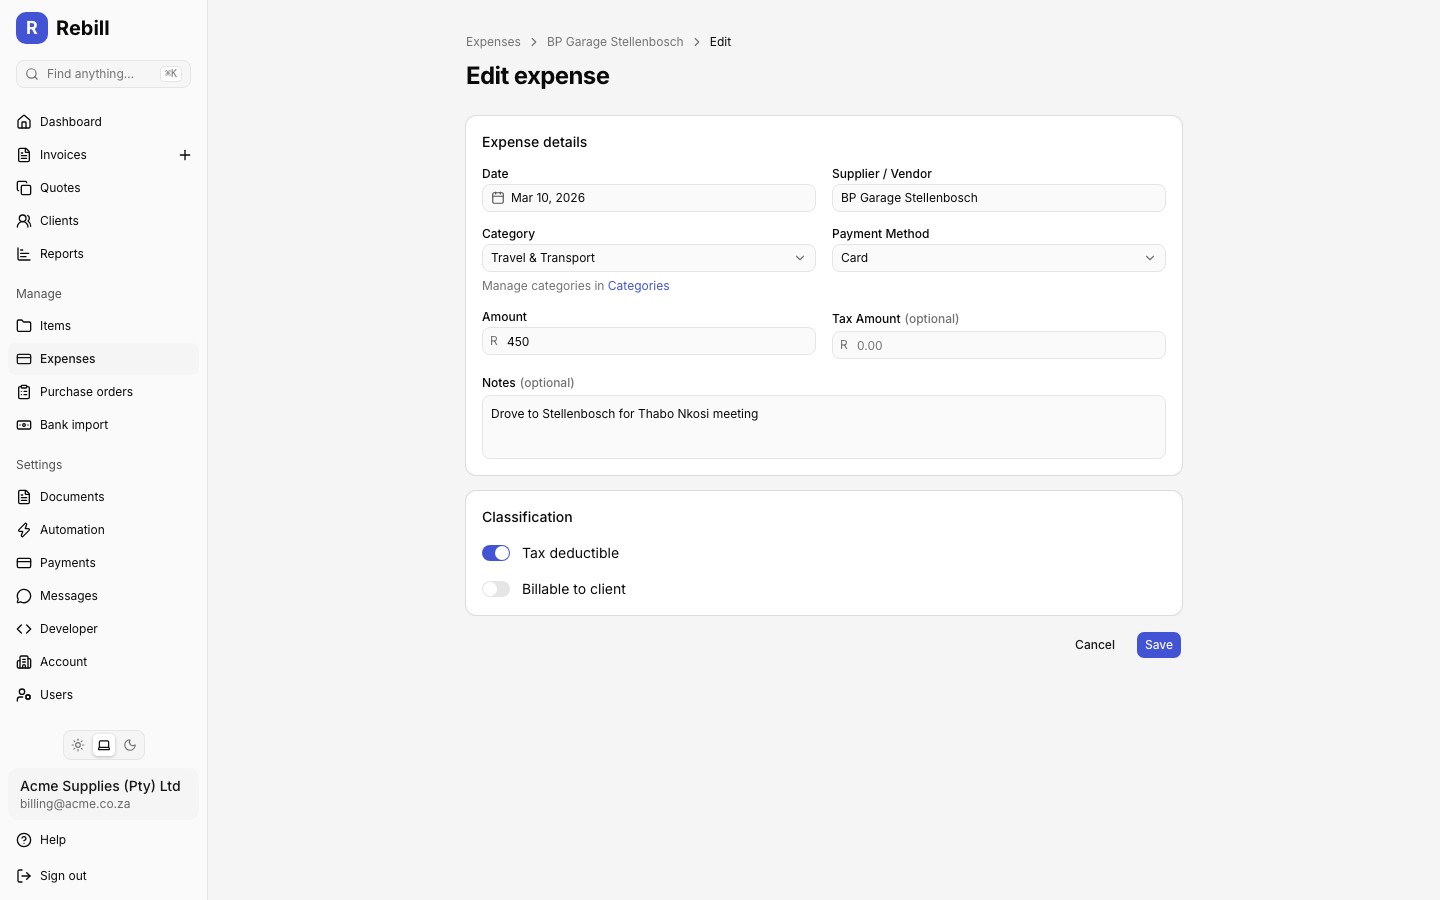
Expenses from recurring templates
An expense generated automatically by a recurring expense shows a small repeat icon next to the supplier name in the list. Click it to open the template it came from.Expenses from purchase orders
Fulfilled purchase orders can be recorded as an expense in one click. The Supplier / Vendor field and a note referencing the purchase order number are filled in automatically. See the Purchase Orders help category.